![]()
![]()
![]()
![]()
![]()

|
|
|
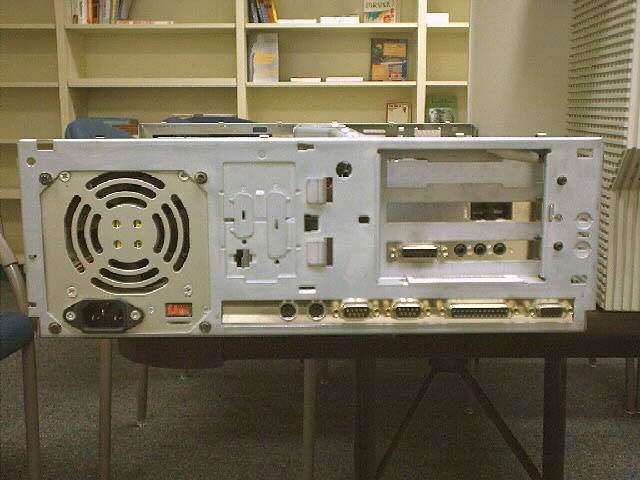
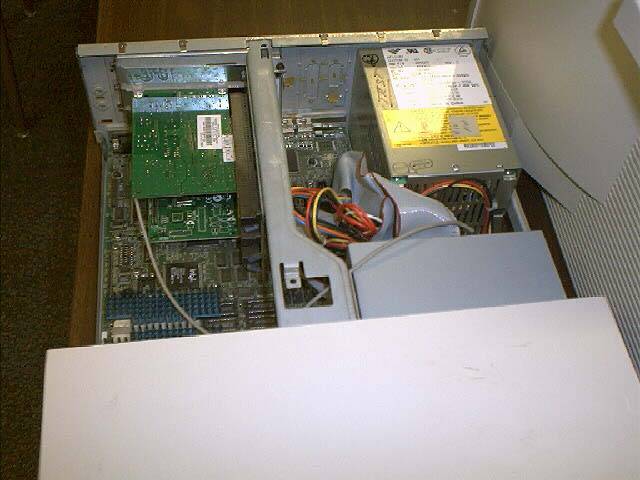
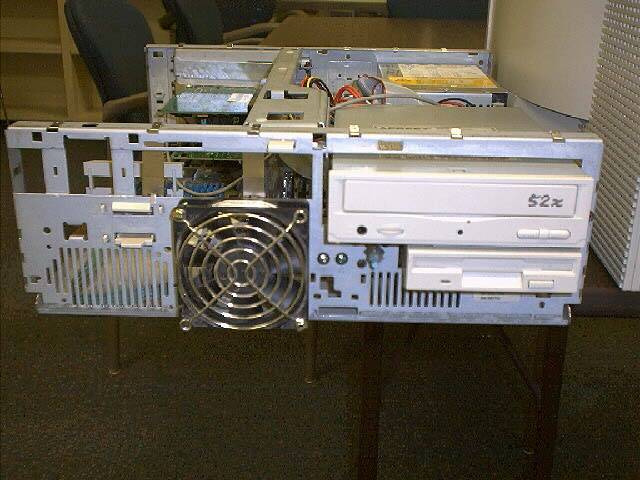
Show the case IBM Model 33 Pentium 100: (Make sure the machine is unplugged)
Show how to
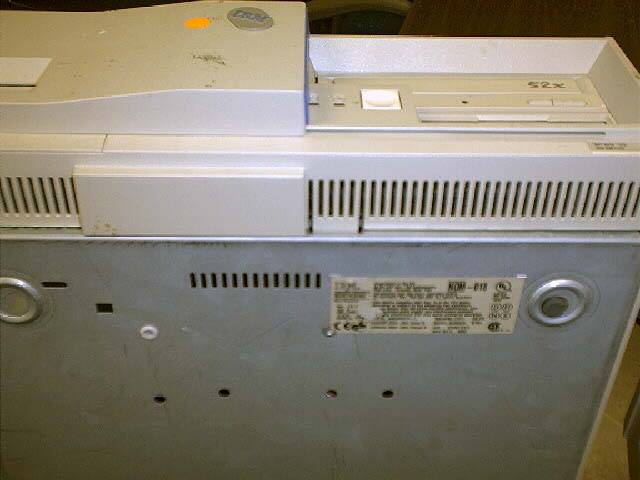
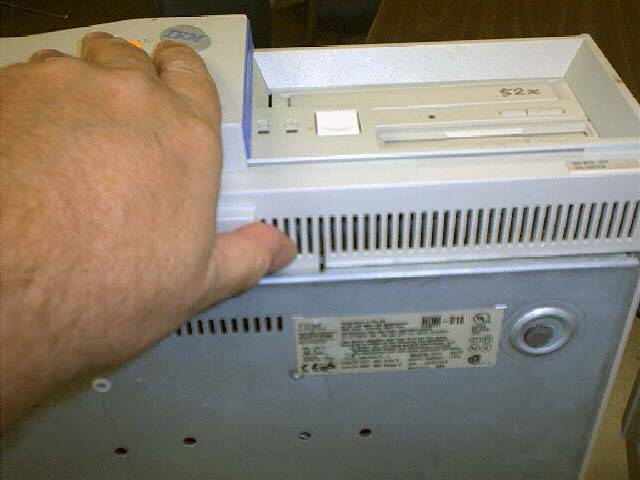
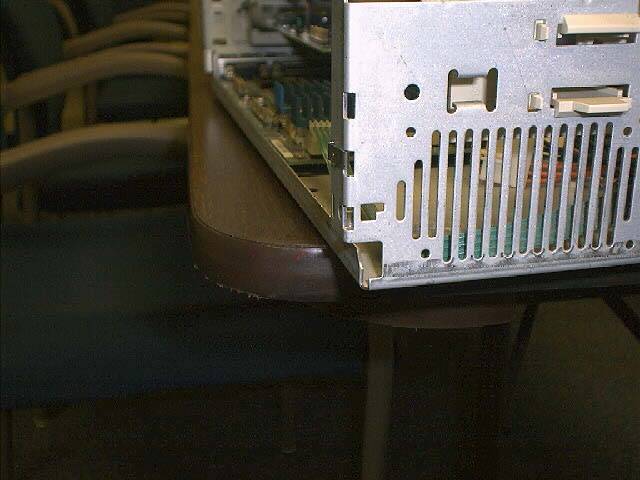
open the case (catch on the bottom).
Slide the case
off toward the front.
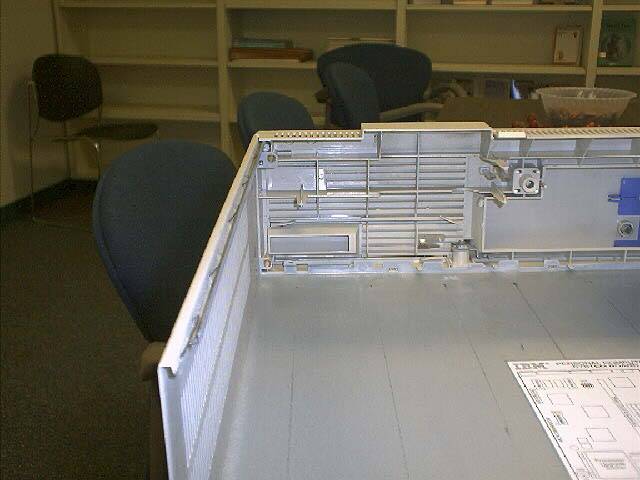
Note: When putting the case back on
watch the rails the top slides on.
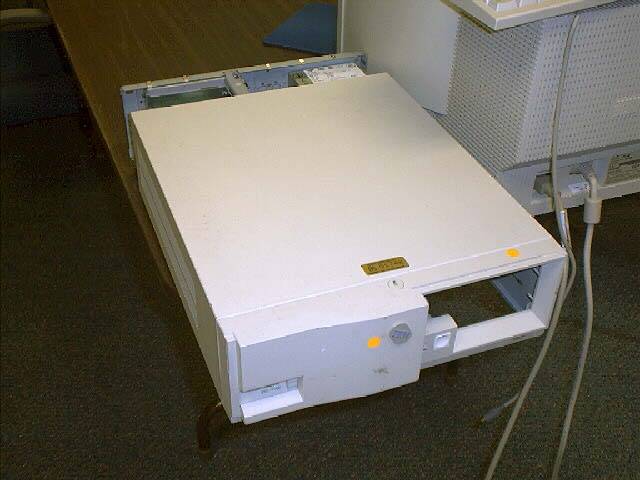
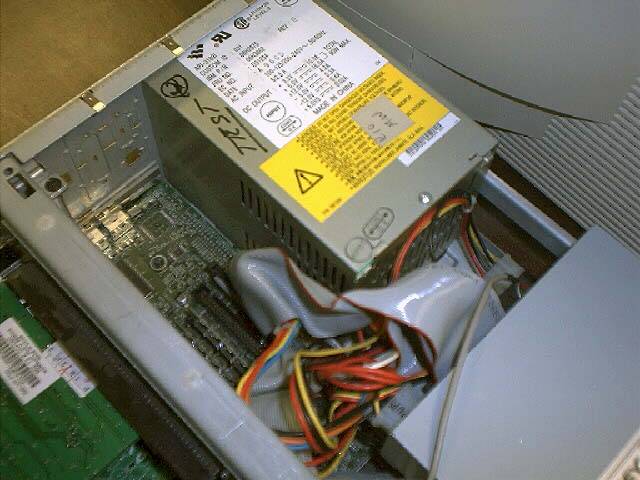
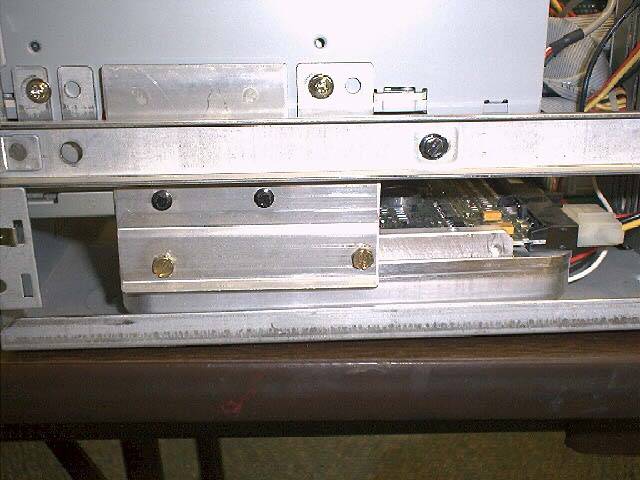
Show that there is nothing inside
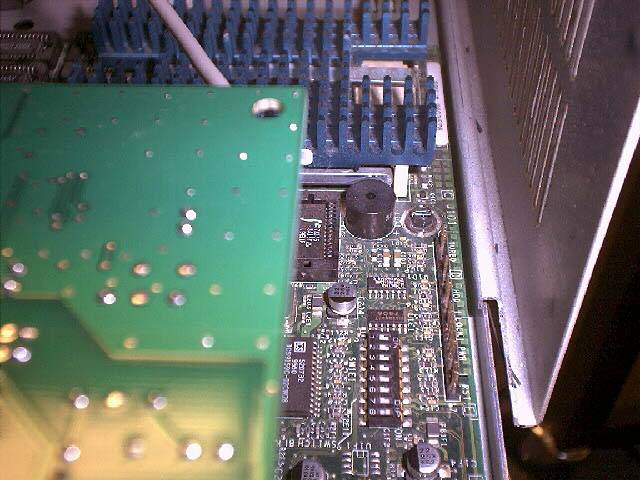
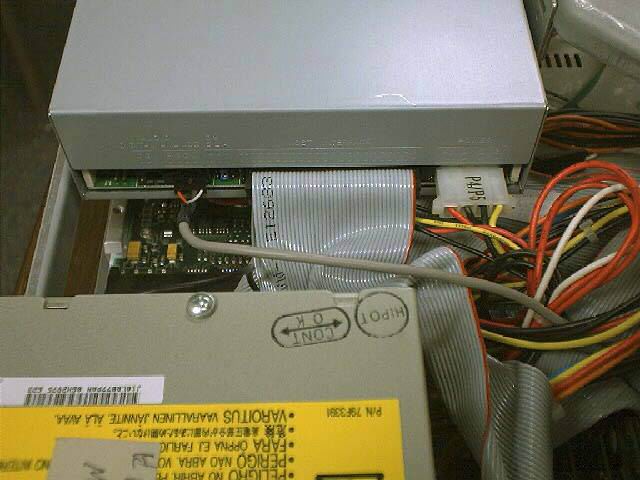
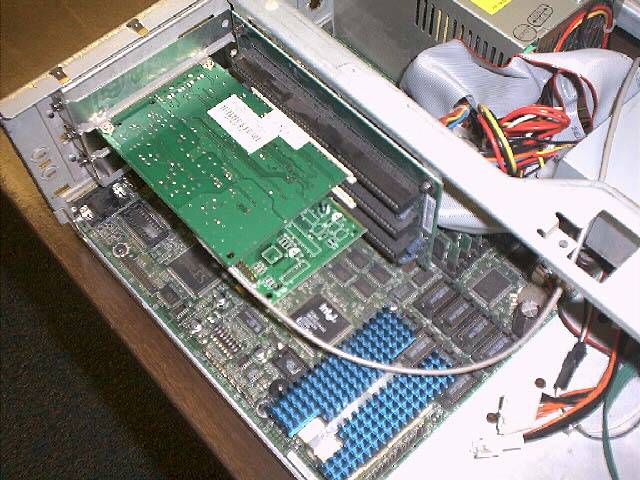
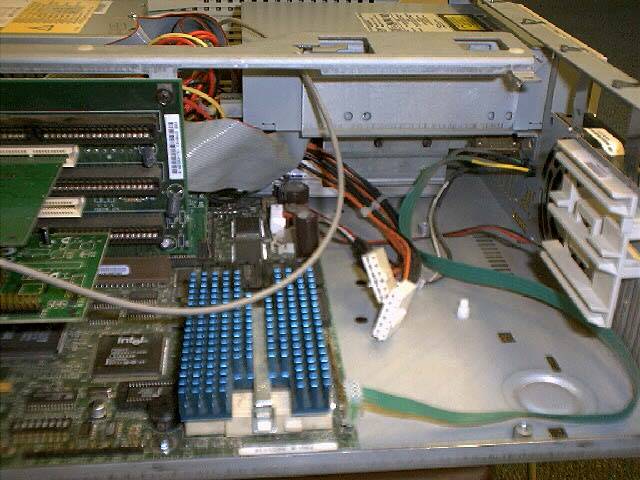
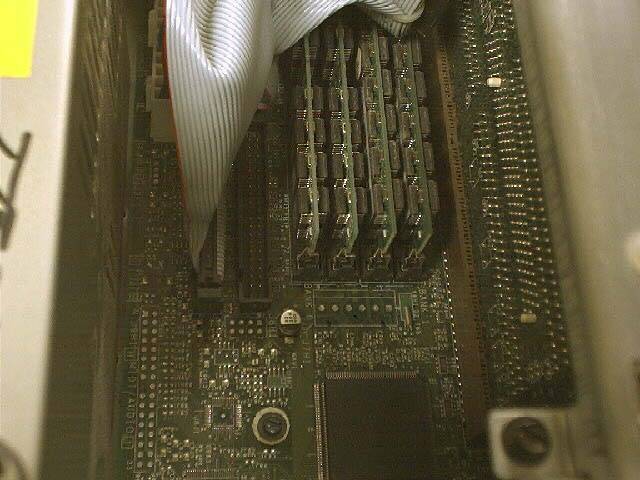
the case that will harm you Show the following Hard Drive (3 gig - IDE type) Floppy Drive (1.44 meg) Cd-Rom (40x - ide type Memory Chips (32 meg) Processor (100 Pentium) Power Supply Modem (56k ) Sound Card Show the class the location of the Cd-Rom. Show the following Screws holding the drive in the machine. Power
cable. ( note:
the connector has rounded edges Data
Cable (note:
The red strip is toward the power
Sound Cable (Note
the color of the
wire closest Slide the drive out of the machine. Show it to the class. Have one of the students re-assemble the drive in the machine. Note: When putting everything back together it should go on easily, if not, stop. Something is wrong. Correct the problem and start that step again. Place the top back on the machine watching how the top is placed on the rails. Be careful it is very easy to get the top on the rails crooked.
Watch out for the plastic round tabs on the top rail they will catch the top, preventing it from going on easily
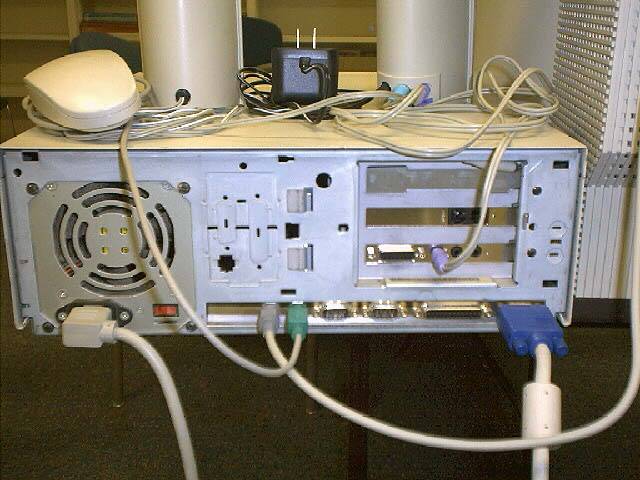
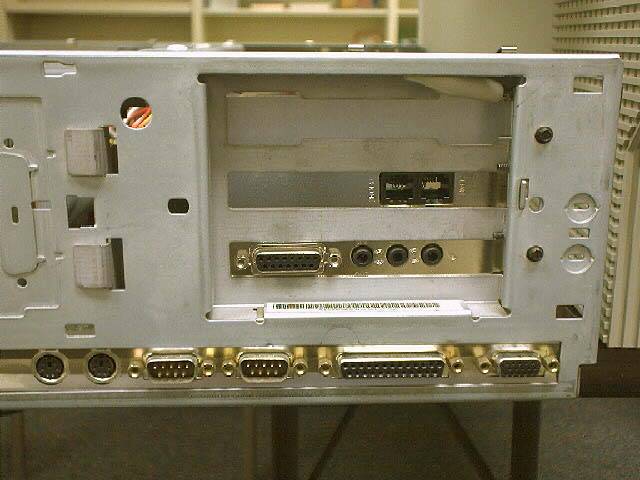
Connect
the keyboard, mouse, monitor, CPU power cord, and speakers
Connect the monitor power cord to the monitor. Connect the speaker power cord to the speakers. When everything is connected. Turn on the machine. While it is booting, explain the following: Startup Disk and why we use it. DOS verses Windows The Computer Buddies Image. Show the Computer Buddies Image CD. The Ghost program. Is on the root directory of the CD Picture
of the hard drive at the time It
will restore the computer to proper We
don’t mind if the parents or the Not
to be given away.
When windows-98 finishes loading: Click on Start, Settings, Control Panel. Double Click: Add/Remove Programs. Click on: The Startup Disk Tab The create disk window. When
asked to do so, place a floppy When done, remove the disk. Explain the startup configuration options: First
start from a hard drive, bypasses the First
start from a floppy. Press
F1 when the boot process asks you to Arrow
down to the startup options part of the First
Boot Device - from Hard Drive to Arrow down to save options. Press enter. Arrow down to exit the menu. Press enter. This should allow the machine to boot to a floppy in the A drive Reboot the machine with the startup floppy in the A drive. When
prompted, choose “Start computer with CD-Rom support”. Pay
attention to the drive letter that is assigned to the CD-Rom
Change to the drive letter for the CD-Rom Type GHOST and press enter Do the following: At the opening screen press enter Highlight Local. Press enter Highlight Disk. Press enter Arrow down to From Image. Press enter Use
the TAB key until the CBIMAGE.GHO is Choose the destination drive. When
it says, “is this the one you want me to use?” When
it asks “are you sure you want to do this?” While the machine is Re-Imaging. Go over the software on the Computer Buddies Software CD.
More pictures of the computer
|
|
Send mail to
postmaster@computerbuddies.us with
questions or comments about this web site.
|